NVM Install Apple macOS M1 Silicon Chip

Onexlab
2 min readFeb 16, 2021

In this article, we will show you how to install the NVM (Node Version Manager) on the Apple macOS M1 Silicon Chip
What is NVM?

NVM stands for Node Version Manager. As the name suggests, it helps you manage and switch between different Node versions with ease. It provides a command-line interface where you can install different versions with a single command, set a default, switch between them, and much more

Video

NVM Installation

Step 1:

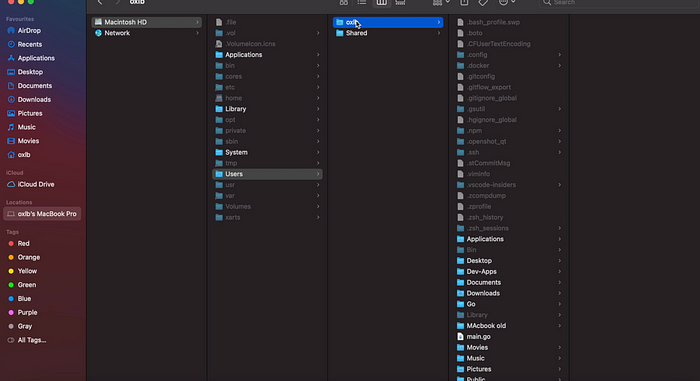
Go to the Users directory `/users/username` as shown in the following screenshot


Example:
/users/oxlb/

Step 2:

Create a new file .zshrc as shown below

.zshrc

Step 3:

Open the terminal and type the following command and hit enter

curl -o- https://raw.githubusercontent.com/nvm-sh/nvm/v0.39.0/install.sh | bash

Once installed then you will see the output as shown below in the screenshot

.ZSHRC file

Now if you look at .zshrc file. You will see the automated export configuration as shown in the following screenshot

That means NVM installed successfully.

Verify NVM Installation

Open the new terminal, type the following command to verify the NVM installation

nvm list

Then you will see the command works and show you the list as shown in the following screenshot

Thank You! 🚀🚀🚀🚀🚀

Onexlab